


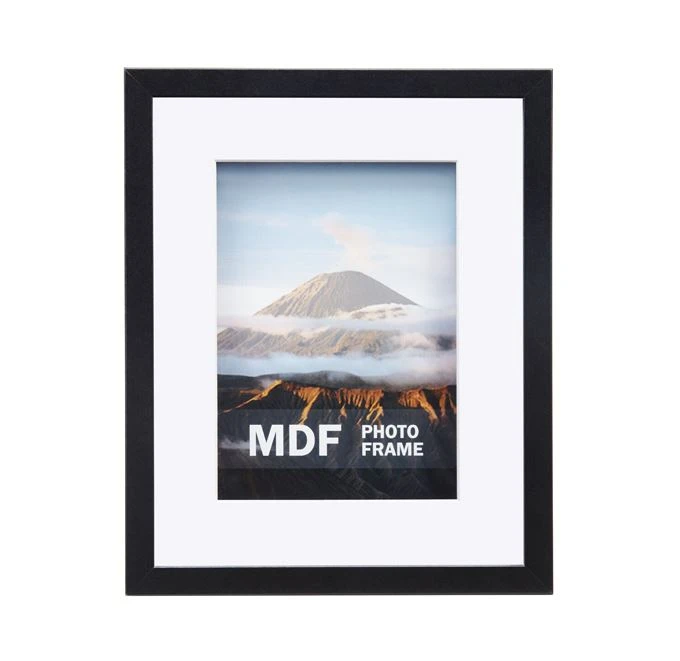
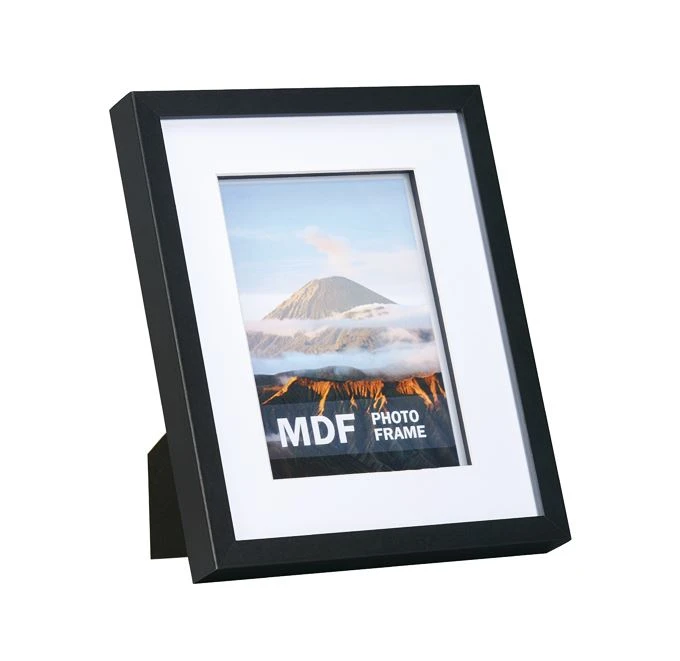
As an MDF frame supplier, I've had the privilege of witnessing the transformative power of these versatile frames in enhancing spaces and preserving memories. In this blog post, I'll share a comprehensive guide on how to finish an MDF frame, from the initial preparation to the final touches. Whether you're a DIY enthusiast or a professional looking to refine your skills, this guide will provide you with the knowledge and techniques to create stunning MDF frames.
Step 1: Gather Your Materials and Tools
Before you begin, it's essential to gather all the necessary materials and tools. Here's a list to get you started:
- MDF Frame Blanks: Choose high-quality MDF frame blanks in the desired size and style. You can find a variety of options, including Gallery Wall Frame, Keepsake Box, and 5x7 Folding Picture Frames.
- Sandpaper: Different grits of sandpaper, such as 120, 220, and 320, for smoothing the surface of the frame.
- Primer: A good-quality primer to prepare the frame for painting or staining.
- Paint or Stain: Select the paint or stain color that matches your design vision. Acrylic paints are popular for their durability and ease of use, while stains can enhance the natural look of the MDF.
- Brushes or Spray Gun: Depending on your preference and the size of the frame, choose brushes or a spray gun for applying the primer, paint, or stain.
- Sealer: A clear sealer to protect the finished frame and give it a professional look.
- Clamps: To hold the frame pieces together during assembly and drying.
- Measuring Tape and Square: For accurate measurements and ensuring the frame is square.
- Glue: A strong wood glue for joining the frame pieces.
- Nails or Staples: Optional, for additional reinforcement.
Step 2: Prepare the MDF Frame
Once you have all your materials and tools ready, it's time to prepare the MDF frame. Start by inspecting the frame blanks for any defects or rough edges. Use sandpaper to smooth the surface of the frame, starting with a coarse grit (120) and gradually moving to finer grits (220 and 320) for a smooth finish. Pay special attention to the corners and edges, as these areas tend to be more rough.
After sanding, wipe the frame clean with a damp cloth to remove any dust or debris. Allow the frame to dry completely before proceeding to the next step.
Step 3: Prime the Frame
Priming the frame is an important step that helps the paint or stain adhere better and provides a more even finish. Apply a thin coat of primer to the entire surface of the frame using a brush or spray gun. Make sure to cover all the edges and corners. Allow the primer to dry according to the manufacturer's instructions.
If you notice any drips or uneven areas, use sandpaper to smooth them out before applying a second coat of primer. Applying multiple thin coats of primer will result in a smoother and more durable finish.
Step 4: Paint or Stain the Frame
Once the primer is dry, it's time to paint or stain the frame. If you're using paint, stir it well before applying to ensure an even color. Apply the paint in thin, even coats, using a brush or spray gun. Allow each coat to dry completely before applying the next one. Depending on the color and coverage you desire, you may need to apply two or more coats of paint.
If you prefer a stained finish, choose a stain that complements the color of your design. Apply the stain using a brush or a cloth, following the grain of the MDF. Wipe off any excess stain with a clean cloth to prevent a sticky or uneven finish. Allow the stain to dry according to the manufacturer's instructions.
Step 5: Seal the Frame
After the paint or stain is dry, it's important to seal the frame to protect it from moisture, scratches, and other damage. Apply a clear sealer to the entire surface of the frame using a brush or spray gun. Make sure to cover all the edges and corners. Allow the sealer to dry completely before handling the frame.
Applying multiple thin coats of sealer will provide better protection and a more professional look. You can choose a matte, satin, or gloss finish, depending on your preference.
Step 6: Assemble the Frame
Once the frame is fully finished and the sealer is dry, it's time to assemble the frame. Start by laying out the frame pieces on a flat surface and checking the measurements to ensure they are accurate. Apply a thin layer of wood glue to the ends of the frame pieces and join them together. Use clamps to hold the pieces in place and allow the glue to dry according to the manufacturer's instructions.
If desired, you can use nails or staples for additional reinforcement. Make sure to countersink the nails or staples so they are flush with the surface of the frame.
Step 7: Add the Final Touches
After the frame is assembled and the glue is dry, it's time to add the final touches. Use sandpaper to smooth any rough edges or bumps. If you used nails or staples, fill the holes with wood filler and sand them smooth once the filler is dry.
You can also add decorative elements to the frame, such as molding, trim, or embellishments, to enhance its appearance. Use glue or nails to attach these elements securely.
Finally, clean the frame with a damp cloth to remove any dust or debris. Apply a final coat of sealer to protect the frame and give it a polished look.
Step 8: Display Your Finished MDF Frame
Once your MDF frame is finished, it's time to display it and showcase your hard work. You can use the frame to display a favorite photo, a piece of artwork, or a keepsake. Hang the frame on the wall using picture hangers or place it on a tabletop using an easel.
Remember to handle the frame with care to avoid scratching or damaging the finish. With proper care and maintenance, your finished MDF frame will last for years to come.
Conclusion
Finishing an MDF frame is a rewarding project that allows you to add a personal touch to your home decor or create a unique gift. By following these steps and using the right materials and tools, you can create a professional-looking MDF frame that enhances the beauty of your photos, artwork, or keepsakes.
If you're interested in purchasing high-quality MDF frame blanks or have any questions about finishing an MDF frame, please feel free to contact us for more information. We're here to help you bring your design vision to life.
References
- Woodworking Magazine: A valuable resource for woodworking tips, techniques, and project ideas.
- Home Improvement Stores: Provide a wide range of materials and tools for finishing MDF frames.
- Online Tutorials: Many websites and YouTube channels offer step-by-step tutorials on finishing MDF frames.