


Replacing the glass in a certificate frame is a task that might seem daunting at first, but with the right guidance, it can be a straightforward process. As a certificate frame supplier, I've encountered numerous customers who either want to replace damaged glass or upgrade to a better quality one. In this blog, I'll walk you through the steps of replacing the glass in a certificate frame, providing you with all the necessary information to complete the task successfully.
Why Replace the Glass in a Certificate Frame?
There are several reasons why you might want to replace the glass in your certificate frame. Firstly, if the glass is cracked or broken, it not only affects the aesthetic appeal of the frame but also poses a safety risk. Secondly, you might want to upgrade to a higher - quality glass, such as anti - glare or UV - protected glass. Anti - glare glass reduces reflections, making it easier to view the certificate, especially in well - lit areas. UV - protected glass, on the other hand, helps prevent the certificate from fading over time due to exposure to sunlight.
Tools and Materials You'll Need
Before you start replacing the glass, gather the following tools and materials:
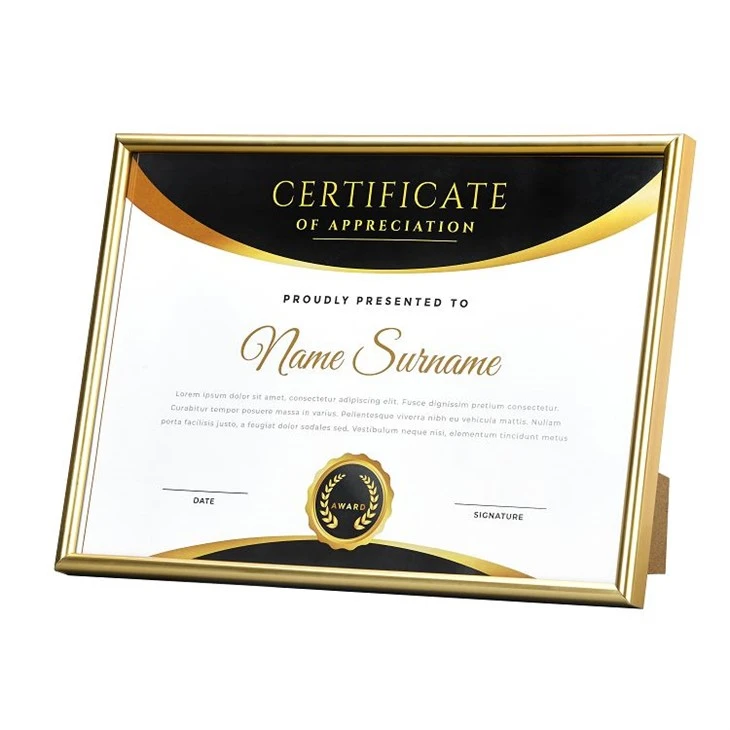
- New glass: You can purchase a new piece of glass from a hardware store or a glass supplier. Make sure to measure the dimensions of the existing glass accurately to get the right size. You can find a variety of Certificate Document Frame with different glass options in our store.
- Safety gloves and goggles: To protect your hands and eyes from any broken glass or sharp edges.
- Screwdriver: Depending on the type of frame, you may need a Phillips or flat - head screwdriver to remove the back of the frame.
- Putty knife or flat tool: This will help you pry open the frame if it has a snap - on design.
- Clean cloth: To clean the frame and the new glass before installation.
Step - by - Step Guide to Replacing the Glass
Step 1: Remove the Frame from the Wall
If the certificate frame is hanging on the wall, carefully remove it. Place it on a clean, flat surface, such as a table or the floor. Make sure the surface is soft enough to prevent any scratches on the frame.
Step 2: Open the Frame
There are two common types of certificate frames: those with screws and those with a snap - on design.
- Screw - type frames: Use the appropriate screwdriver to remove the screws on the back of the frame. Keep the screws in a safe place so you don't lose them.
- Snap - on frames: Insert the putty knife or flat tool between the frame and the back panel. Gently pry open the frame until the back panel comes loose.
Step 3: Remove the Old Glass
Once the back panel is removed, you'll be able to access the old glass. Carefully lift the glass out of the frame. If there are any pieces of broken glass, use a vacuum cleaner or a brush to clean them up. Be extra careful when handling broken glass to avoid cuts.
Step 4: Clean the Frame
Use a clean cloth to wipe down the inside of the frame. Remove any dust, dirt, or debris that may have accumulated. This will ensure a clean surface for the new glass to sit on.
Step 5: Prepare the New Glass
If the new glass has a protective film on it, carefully peel it off. Make sure to handle the glass by the edges to avoid leaving fingerprints on the surface.
Step 6: Install the New Glass
Place the new glass into the frame, aligning it with the edges. Make sure it fits snugly. If the glass is too large or too small, you may need to trim it or get a different size.

Step 7: Replace the Back Panel
Put the back panel back onto the frame. If it's a screw - type frame, insert the screws and tighten them with the screwdriver. If it's a snap - on frame, press the back panel firmly until it snaps into place.
Step 8: Hang the Frame Back on the Wall
Once the glass is replaced and the frame is reassembled, you can hang it back on the wall. Make sure it's level and secure.
Tips for Choosing the Right Glass
- Thickness: The thickness of the glass can affect its durability and appearance. For most certificate frames, a glass thickness of 2 - 3mm is sufficient.
- Quality: Opt for high - quality glass that is clear and free of defects. Low - quality glass may have bubbles or scratches, which can detract from the overall look of the frame.
- Special features: Consider choosing glass with special features such as anti - glare or UV protection. These features can enhance the viewing experience and protect your certificate. You can explore our custom plastic picture frames which offer various glass options.
Environmental Considerations
As a responsible supplier, we also offer Eco - friendly Plastic Frame options. These frames are made from sustainable materials and are a great alternative to traditional glass frames. They are lightweight, shatterproof, and more environmentally friendly.
Conclusion
Replacing the glass in a certificate frame is a relatively simple process that can be completed with a few basic tools. By following the steps outlined in this blog, you can ensure that your certificate is displayed in the best possible way. Whether you're replacing damaged glass or upgrading to a better quality one, taking the time to do it right will make a significant difference in the appearance of your certificate frame.
If you're interested in purchasing certificate frames or need more information about glass replacement, we're here to help. Our team of experts can provide you with professional advice and assist you in finding the perfect frame for your needs. Contact us today to start the procurement discussion and explore our wide range of products.
References
- General hardware store guides on frame repair
- Industry knowledge on glass types for frames